Setup A Xorcom PBX

Written by Steven Spaulding
Updated at September 27th, 2023
Table of Contents
Scope
Intended Audience: All users
How to setup a Xorcom PBX to be able to register and make and receive phone calls.
Requirements
- SIP Trunk Credentials
- Admin Access to the Xorcom PBX
Trunk Registration
Register Based Trunk
- Log into your Xorcom PBX admin console.
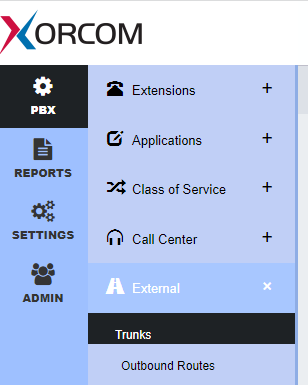
- Navigate to PBX → External → Trunks
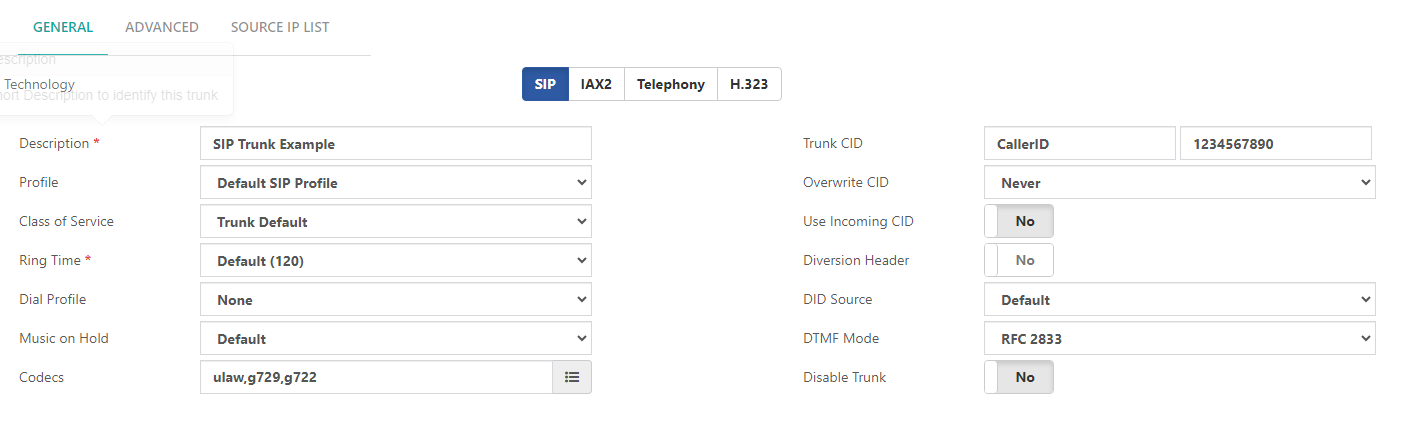
- Create a new trunk with the following information under the General Tab
- Description - Description of Trunk
- Profile - Leave as Default SIP Profile
- Trunk CID - Desired CallerID name and number for clients
- Overwrite CID - set according to if each extension will use unique caller ID's
- Codecs - Select Ulaw,G729,G722
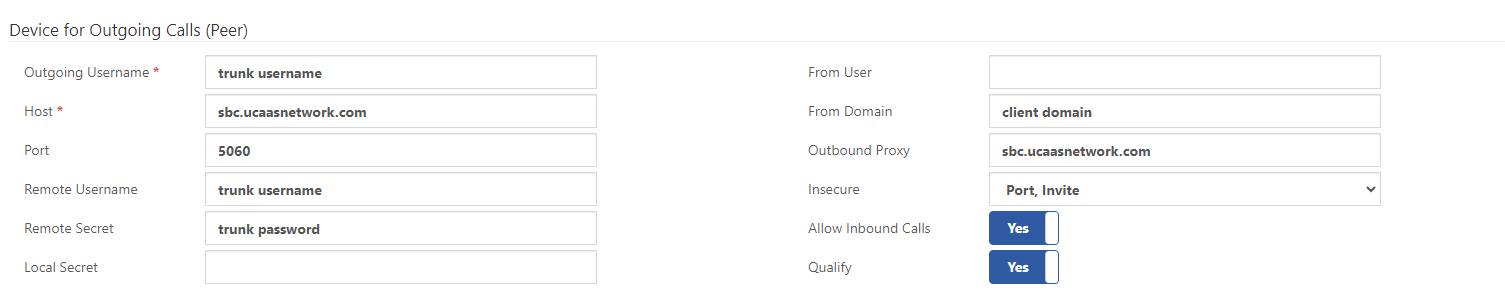
- Outgoing username - username created when trunk was created in the manager portal
- Host - outbound proxy ie sbc.ucaasnetwork.com
- From Domain - clients domain name
- Port - 5060
- Outbound Proxy - Same as Host
- Remote Username - Same as Outgoing Username
- Remote Secret - password created when trunk was created in the manager portal
- Insecure - Port,Invite
- Allow Inbound Calls - Yes
- Set the registration string to the following. Replace the place holder information accordingly.
<trunk username>@<client domain>:<trunk password>@<outbound proxy>:5060 - Click Update
- Navigate to the Advanced tab for the new trunk

- Enter the following.
- Type - Peer
- Parameter - sendrpid
- Value - PAI
- Click Update
- Click the apply button at the top of the screen.

- Navigate to Settings → Technology Settings → SIP Settings and click on Others.


- Set SRV Lookups to yes and click save
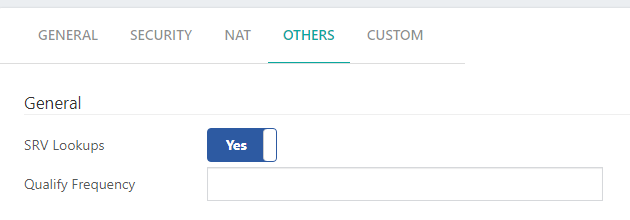
- Click the apply button at the top of the screen.
Static IP based Trunk
- Log into your Xorcom PBX admin console.
- Navigate to PBX → External → Trunks
- Create a new trunk with the following information under the General Tab
- Description - Description of Trunk
- Profile - Leave as Default SIP Profile
- Trunk CID - Desired CallerID name and number for clients
- Overwrite CID - set according to if each extension will use unique caller ID's
- Codecs - Select Ulaw,G729,G722
- Outgoing username - clients main phone number.
- Host - outbound proxy ie sbc.ucaasnetwork.com
- From Domain - clients domain name
- Port - 5060
- Outbound Proxy - Same as Host
- Remote Username - Leave Blank
- Remote Secret - Leave Blank
- Insecure - Port,Invite
- Allow Inbound Calls - Yes

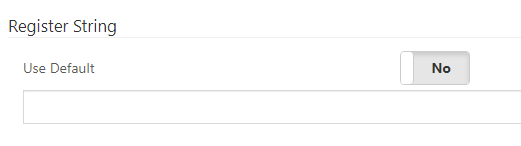
- Set the Register String to no and leave it blank.
- Follow Steps 5 through 12 of the registration based SIP trunk.
Outbound Routes
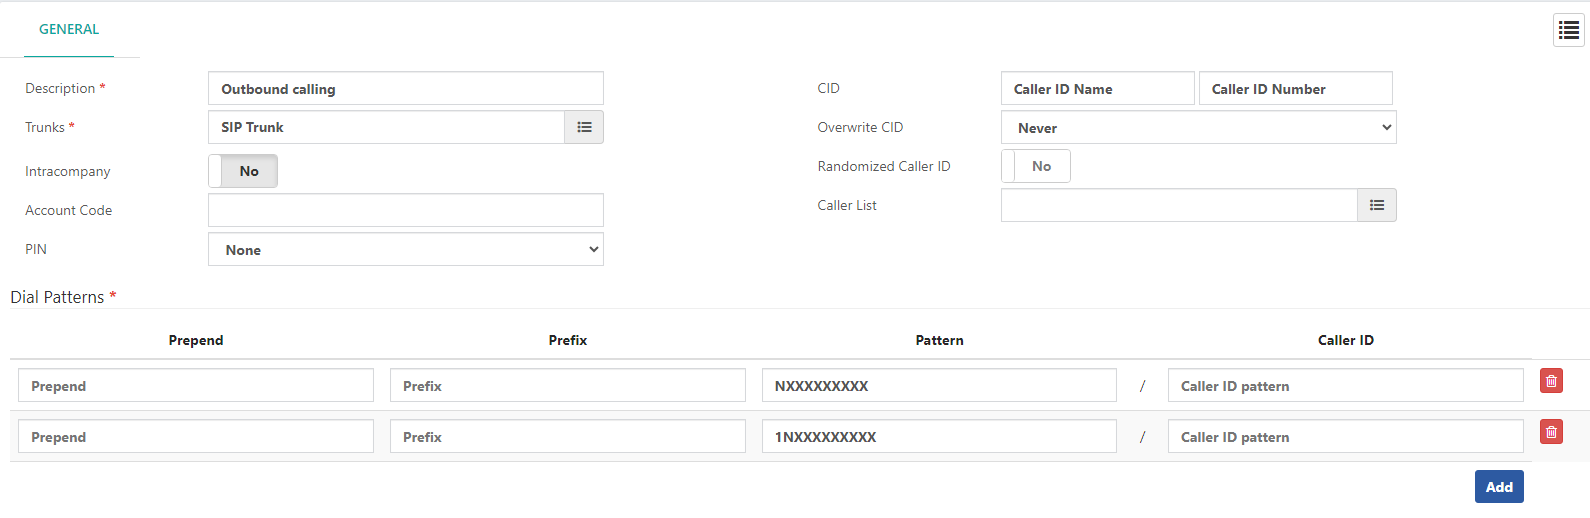
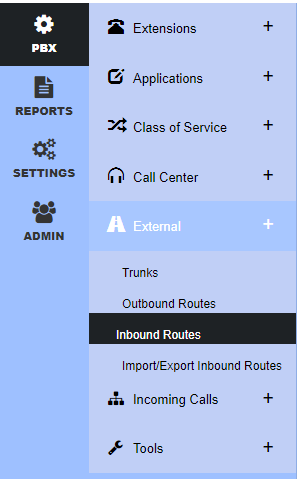
- Navigate to PBX → External → Outbound Routes

- Create a new outbound route with the following
- Description - Description of the route
- Trunks - select the trunk name that was created above.
- CID - Clients desired callerid name and number.
- Overwrite CID - set according to if each extension will use unique caller ID's
- Pattern - add a pattern for each of the following:
- NXXXXXXXXX (for 10 digit dialling)
- 1NXXXXXXXXX (for 11 digit dialling)
- Click Save
- Click the apply button at the top of the screen.
Inbound Call Routes
- Navigate to PBX → External → Inbound Routes
- Fill in the following information.
- Description - Description of the route
- DID Pattern - enter ! followed by the 10 digit number. Example: !1234567890
**The ! is to allow for both 10 and 11 digit inbound matching
- Under Inbound Destination select a module and destination.
- Module - This is either an auto attendant, ring group, extension or voicemail.
- Destination - Extension that matches the desired module that is setup.
Example is a module of Voicemail and destination of user 2000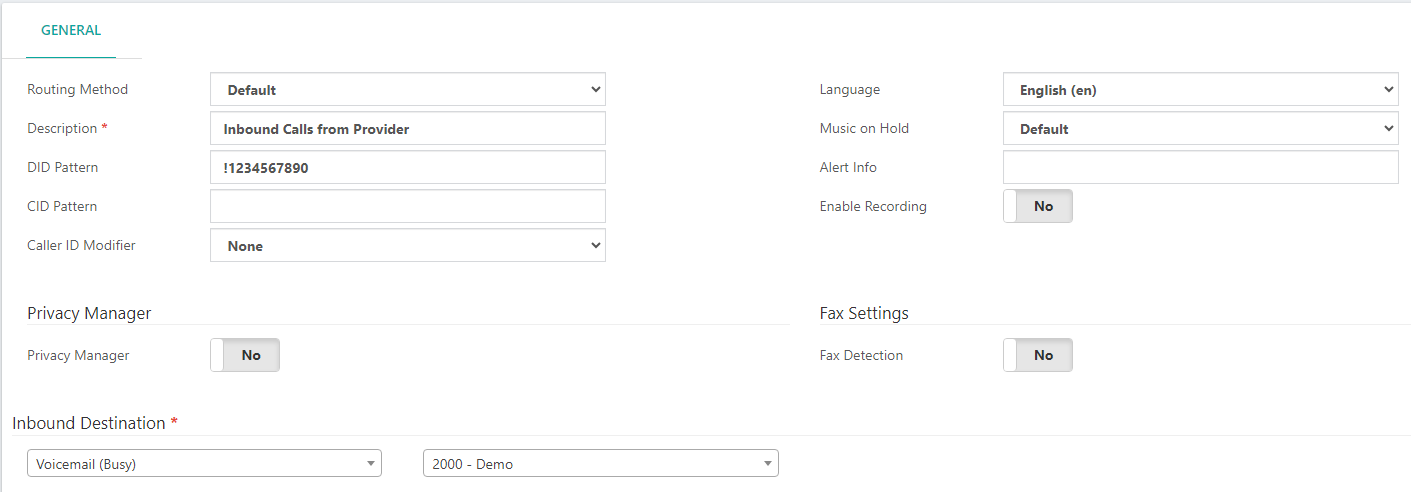
- Click Save
- Click the apply button at the top of the screen.